环境:Ubuntu18.04虚拟机 php7.2
一,安装Nginx和PHP
sudo apt update
sudo apt install nginx
//stop, start and enable Nginx service to always startup when the server boots up:
sudo systemctl stop nginx.service
sudo systemctl start nginx.service
sudo systemctl enable nginx.service
sudo apt-get install software-properties-common
sudo add-apt-repository ppa:ondrej/php
sudo apt update
sudo apt install php-fpm php-mcrypt php-cli php-xml php-mysql php-gd php-imagick php-recode php-tidy php-xmlrpc
二,更改Nginx和PHP的配置
sudo nano /etc/php/7.2/fpm/php.ini
根据下列参考配置进行更改(在nano里面使用Ctrl+w进行搜索,我在配置的时候并没有发现需要更改的配置,所以就没有改动)
file_uploads = On
allow_url_fopen = On
memory_limit = 256M
upload_max_filesize = 100M
max_execution_time = 360
date.timezone = America/Chicago
sudo nano /etc/nginx/sites-available/default
server {
    listen 80;
    listen [::]:80;
    root /var/www/html;
    index  index.php index.html index.htm;
    server_name  example.com www.example.com;

    location / {
        try_files $uri $uri/ =404;
    }


     # pass PHP scripts to FastCGI server
        #
        location ~ \.php$ {
               include snippets/fastcgi-php.conf;
        #
        #       # With php-fpm (or other unix sockets):
               fastcgi_pass unix:/var/run/php/php7.2-fpm.sock;
        #       # With php-cgi (or other tcp sockets):
        #       fastcgi_pass 127.0.0.1:9000;
        }
}
Restart Nginx and PHP-FPM services:
sudo systemctl restart nginx.service
systemctl restart php7.2-fpm.service
三,Test PHP-FPM Setup
sudo nano /var/www/html/phpinfo.php
加以下内容:
<?php phpinfo( ); ?>
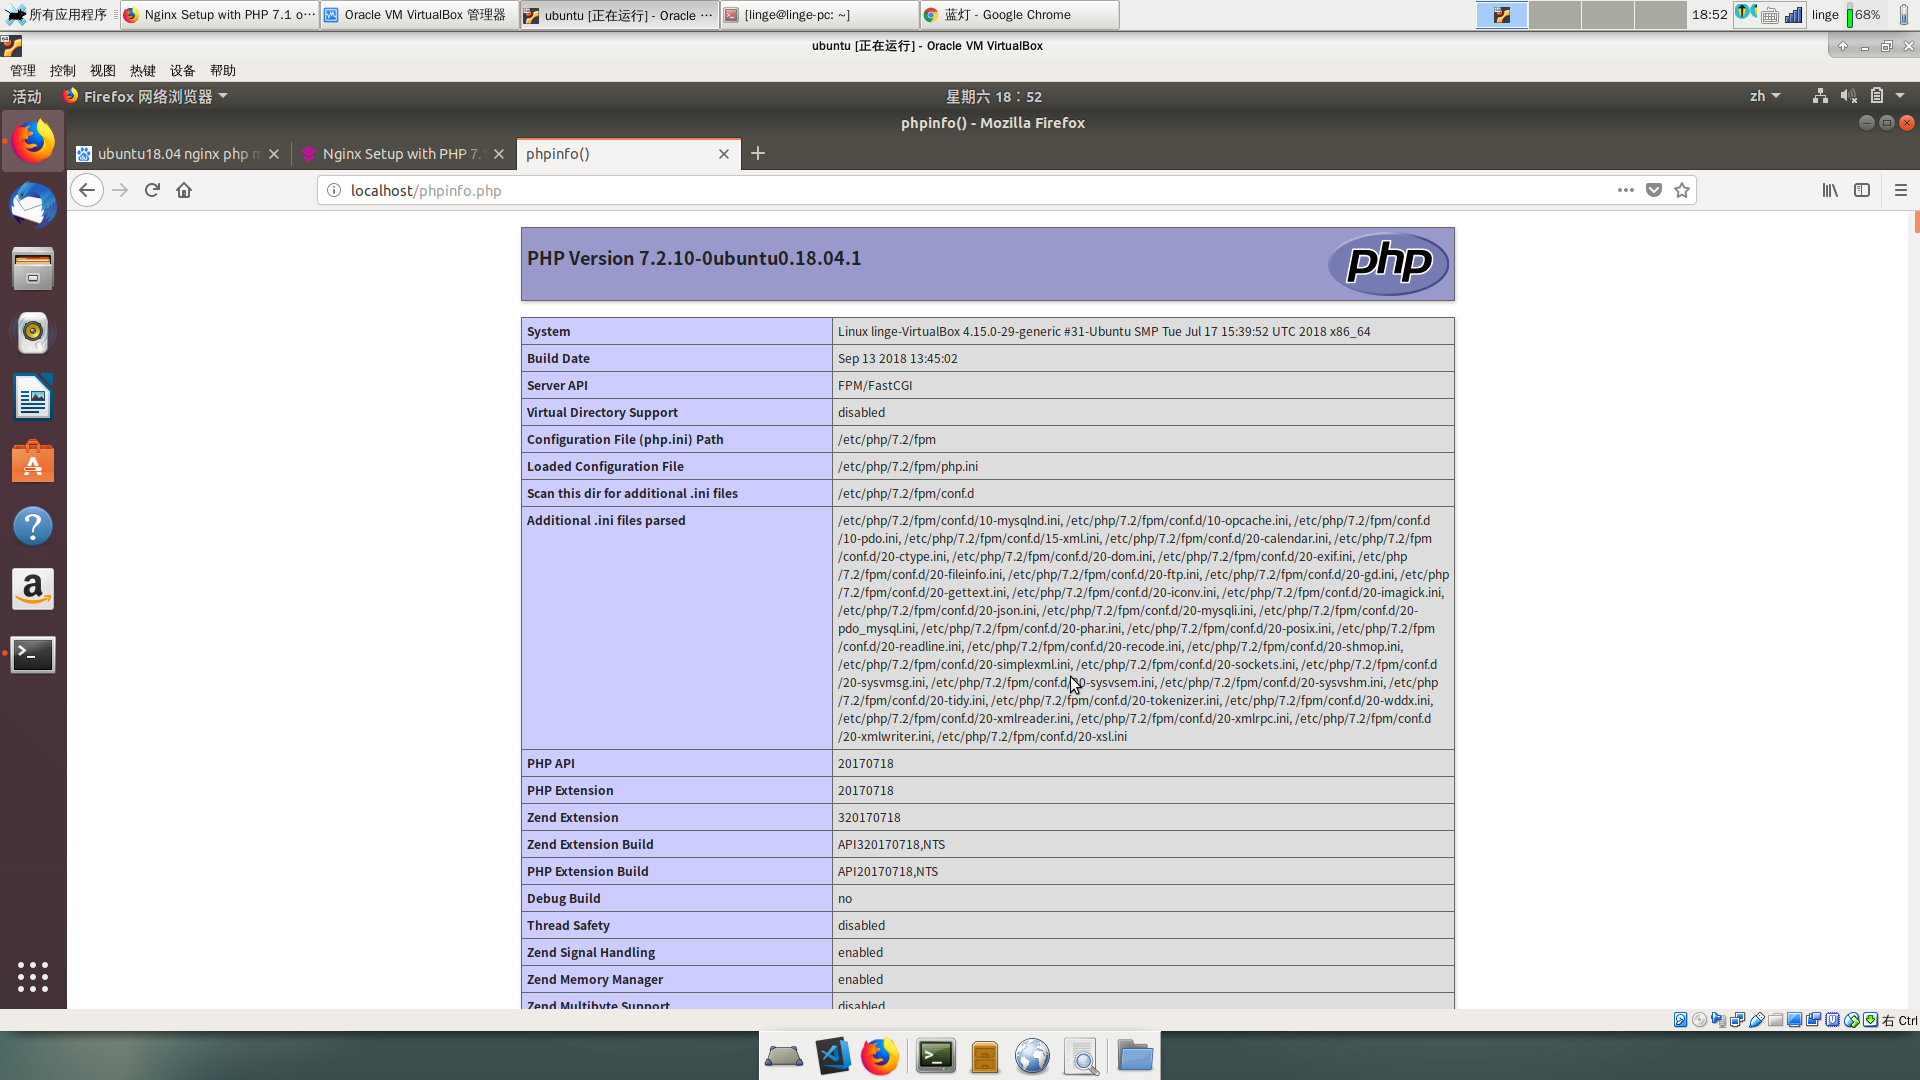
在浏览器地址栏输入 http://localhost/phpinfo.php 你就可以看到
四,安装MySQL
sudo apt-get install mysql-server mysql-client
在安装完成后,执行下面命令:
mysql -u root -p
如果之前设置过密码则输入之前的密码,如果没有设置过或者输入秘密错误,则需要重置新的root密码:
//进入MySQL命令行,方法不止一种
sudo mysql
//一行命令的结尾处有分号,记得加上
mysql> use mysql;
mysql> update mysql.user set authentication_string=PASSWORD('新密码'), plugin='mysql_native_password' where user='root';
mysql>flush privileges;
mysql>quit;
END
Thanks!
https://websiteforstudents.com/install-wordpress-on-ubuntu-18-04-lts-beta-with-nginx-mariadb-and-php-fpm/
http://www.mamicode.com/info-detail-2327939.html